-
Courses

Courses
Choosing a course is one of the most important decisions you'll ever make! View our courses and see what our students and lecturers have to say about the courses you are interested in at the links below.
-
University Life

University Life
Each year more than 4,000 choose University of Galway as their University of choice. Find out what life at University of Galway is all about here.
-
About University of Galway

About University of Galway
Since 1845, University of Galway has been sharing the highest quality teaching and research with Ireland and the world. Find out what makes our University so special – from our distinguished history to the latest news and campus developments.
-
Colleges & Schools

Colleges & Schools
University of Galway has earned international recognition as a research-led university with a commitment to top quality teaching across a range of key areas of expertise.
-
Research & Innovation

Research & Innovation
University of Galway’s vibrant research community take on some of the most pressing challenges of our times.
-
Business & Industry

Guiding Breakthrough Research at University of Galway
We explore and facilitate commercial opportunities for the research community at University of Galway, as well as facilitating industry partnership.
-
Alumni & Friends

Alumni & Friends
There are 128,000 University of Galway alumni worldwide. Stay connected to your alumni community! Join our social networks and update your details online.
-
Community Engagement

Community Engagement
At University of Galway, we believe that the best learning takes place when you apply what you learn in a real world context. That's why many of our courses include work placements or community projects.


Mac Install
Office 2016 Mac Install
Step 1 - Uninstall Office - (Uninstalling Office 2010/2013/2016 Is The Same But May Have Slightly Different Screenshots)
*Please note that Microsoft change screenshots and names of files regularly. As a result what is shown below is likely to be different from your experience. But the process below is the same albeit it with potential for different screens from time to time
Uninstall of Office 2013
1) Open Finder on the Mac – Applications
2) Navigate to Office 2013 files and drag them to trash can on dock 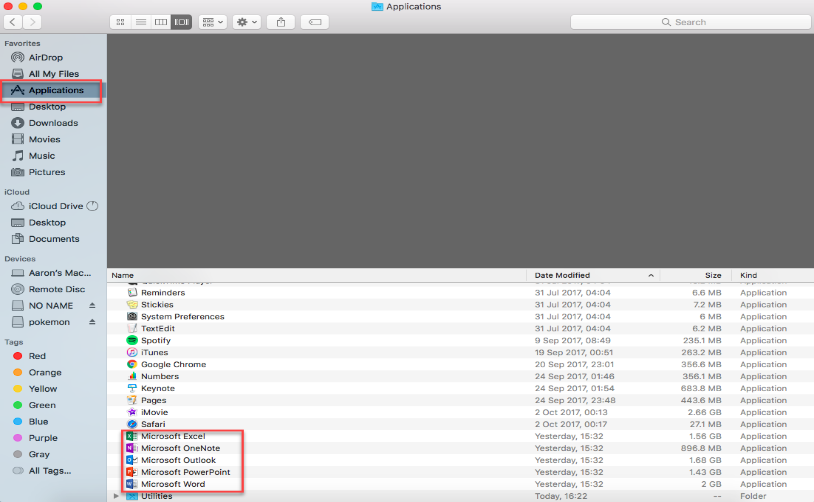
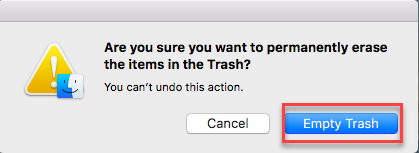
3) Empty Trash 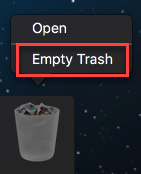
Step 2 - Install Office 2016 From Office 365
1) Go to Office 365(link)
- Login as username@universityofgalway.ie
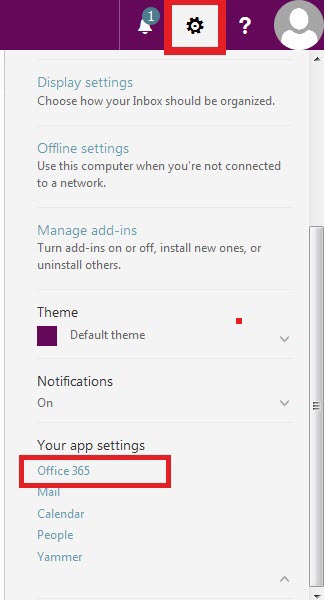
- Click on the Settings Window (silver cog to the right of the screen)
- Click on Office 365
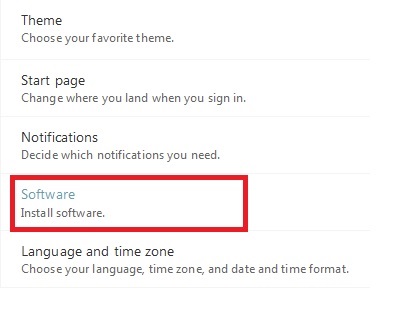
2) Click on Software
3) Click on the Install Status menu on the left of the screen

You will see Office presented on the right hand side. In the example below it is Office 2016 but Microsoft now show Office 365 as the installation of choice. But the installation process is still the same.
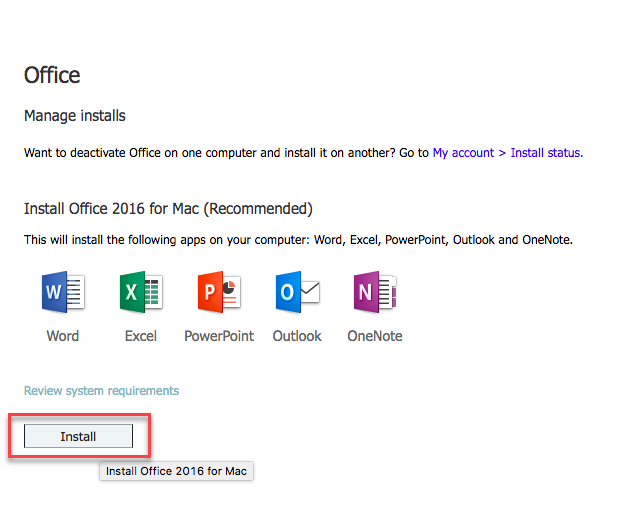
Clink Install
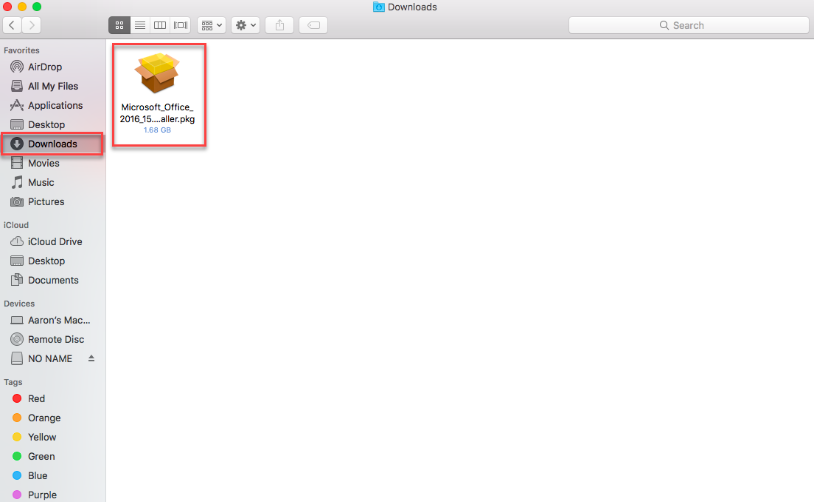
4) Depending on the browser that you are using the download may start automatically or you may have to click save file.

5) Once downloaded, open Finder – Downloads and double click on Setup.x86.en-us_O365ProPlusRetail
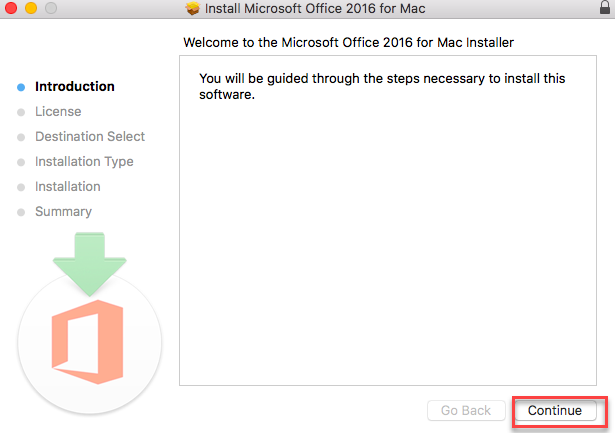
6) Click Continue
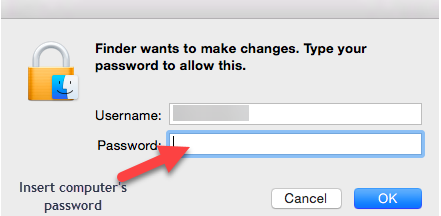
7) You may be prompted to insert your password for your computer.
8) The Office installation will begin.
9) Once completed you will receive a message on the screen indicating success.
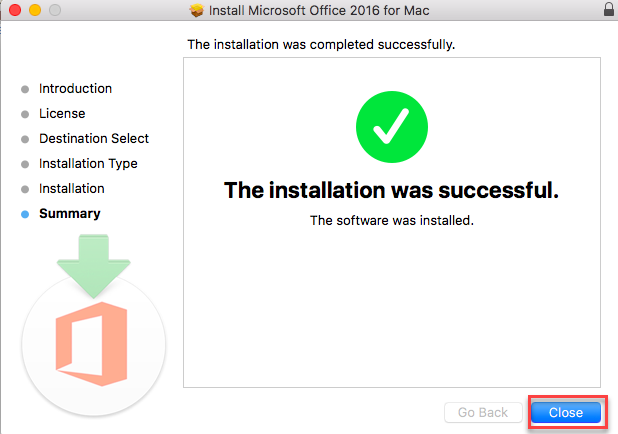
Click Close
10) You can find the Office 365 apps by clicking the Launchpad

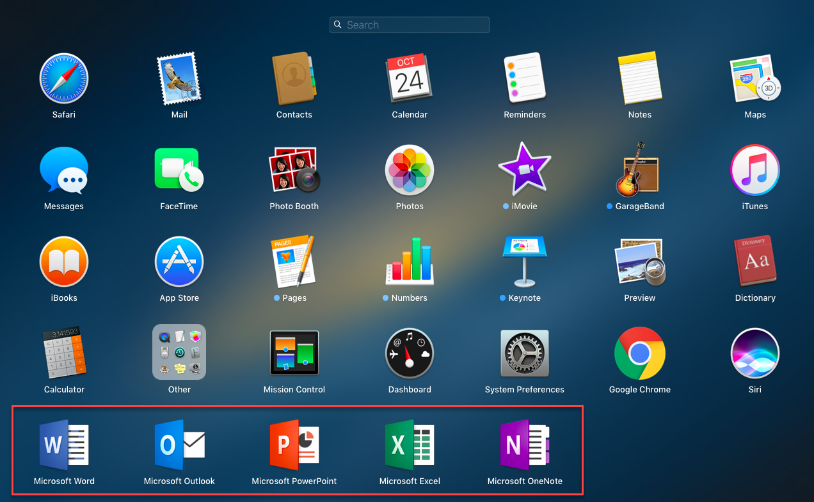
11) Click on Outlook. You will be prompted to enter your username@universityofgalway.ie and password.
Fill these in and press Sign In.
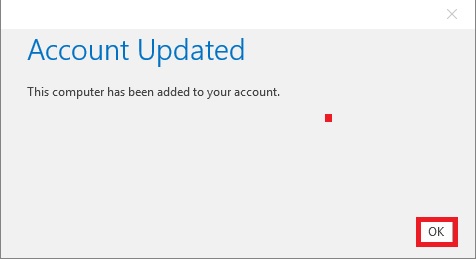
12) Click OK