-
Courses

Courses
Choosing a course is one of the most important decisions you'll ever make! View our courses and see what our students and lecturers have to say about the courses you are interested in at the links below.
-
University Life

University Life
Each year more than 4,000 choose University of Galway as their University of choice. Find out what life at University of Galway is all about here.
-
About University of Galway

About University of Galway
Since 1845, University of Galway has been sharing the highest quality teaching and research with Ireland and the world. Find out what makes our University so special – from our distinguished history to the latest news and campus developments.
-
Colleges & Schools

Colleges & Schools
University of Galway has earned international recognition as a research-led university with a commitment to top quality teaching across a range of key areas of expertise.
-
Research & Innovation

Research & Innovation
University of Galway’s vibrant research community take on some of the most pressing challenges of our times.
-
Business & Industry

Guiding Breakthrough Research at University of Galway
We explore and facilitate commercial opportunities for the research community at University of Galway, as well as facilitating industry partnership.
-
Alumni & Friends

Alumni & Friends
There are 128,000 University of Galway alumni worldwide. Stay connected to your alumni community! Join our social networks and update your details online.
-
Community Engagement

Community Engagement
At University of Galway, we believe that the best learning takes place when you apply what you learn in a real world context. That's why many of our courses include work placements or community projects.


Upgrade
OneDrive Next Generation Upgrade
Introduction
Create, upload, and edit files from your desktop, favorite browser, or mobile devices. Sync with your PC or Mac for convenient offline access. OneDrive allows staff/students sych their data to the cloud. Should something happen to your local hard drive or PC, your data is still available in the cloud and can be retrieved. Any changes you make to files/folders locally on your PC in OneDrive are syched to the cloud. The same is true if you make a change to files folders in the cloud, they are reflected back to your local PC OneDrive account. If you make a change/delete a file, it will be reflected on your cloud/local PC files also.
Staff should note that University of Galway restricted or highly restricted documents and data must not be stored in OneDrive if that data can be synchronised to a non-University owned device. University of Galway controlled data can be stored on OneDrive and synchronised to non-University owned devices at the discretion of the data owner. For further information on the University of Galway data classifications visit the Office of the Secretary website for more information.
Apple Mac Users
Apple Mac users may use these instructions as the setup of the client is similar in nature although a couple of initial setup screens may look different.Official Microsoft instructions for Mac Users may be found here. Mac users MUST have at least OS X 10.9 (Mavericks) installed in order to utilize this client
Windows Users
Please note that these instructions are written for Windows 7 system based users who utilize Office 2013. Users of Office 2010 should consider updating their version of office. Contact 5777 for more details.
Prerequisites
The OneDrive for Business App has been recently upgraded and is a recommended upgrade. These are upgrade instructions for Windows 7 users who have already installed/configured the original OneDrive client on their NUIG Office 365 account and are already using it.
You can choose to upgrade the OneDrive client without already having configured your OneDrive on your PC.
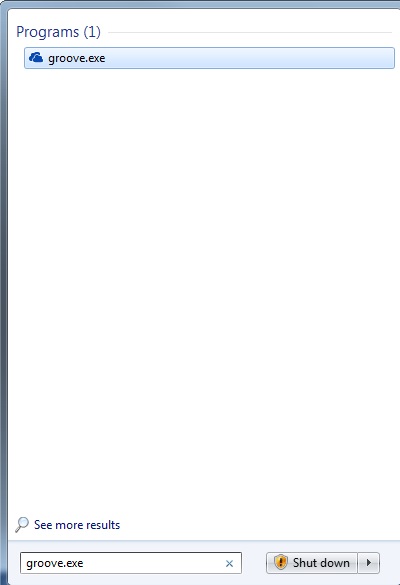
1) - Check the version of OneDrive installed on your PC.
- Click on your Search Bar
- Type in Groove.exe
- Right Click on Groove.exe and select Properties
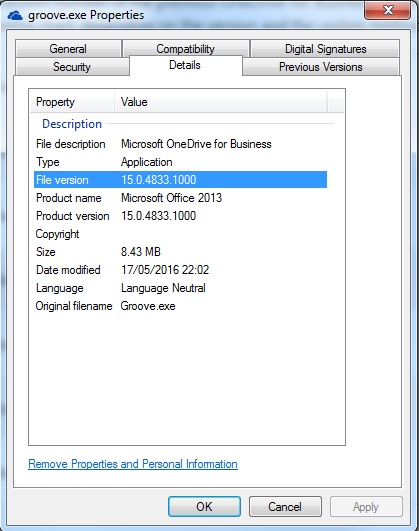
2) - Click on the Details Tab. Ensure that version is at least 15.0.4.779 or above. If you do not have this version, the upgrade will fail. You will need to run Office updates first. Go here for instructions how to get office patches and office updates for your version of Office.
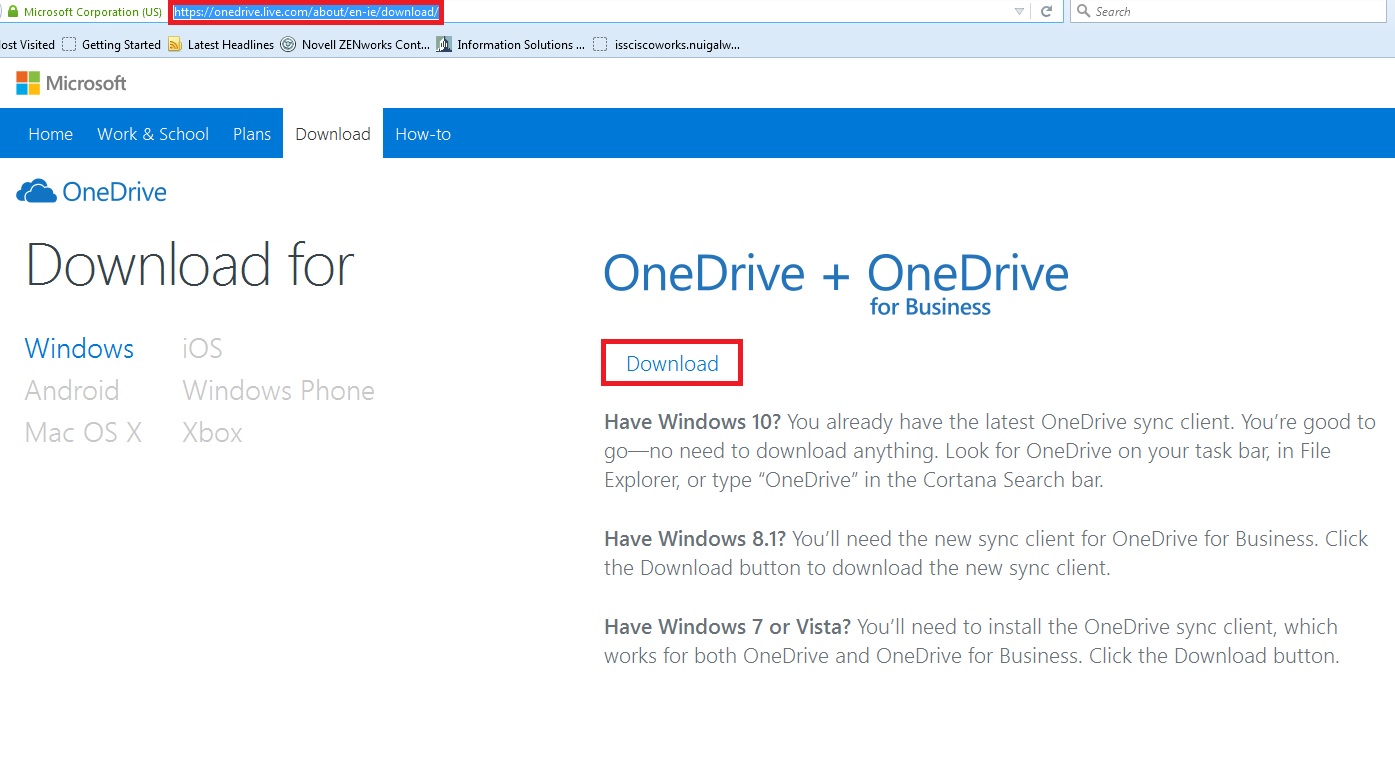
3) - Download the Upgrade Client
- Browse here
- Click on Windows
- Click on Download
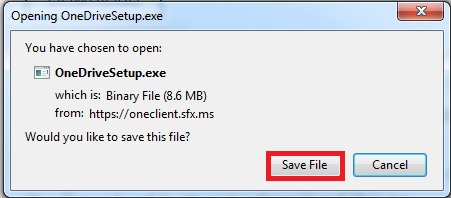
4) - Click Save File and note where it saves the file to. Normally this is the Downloads Directory
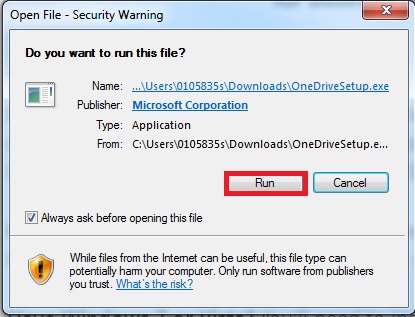
5) - Click Run on the file OneDriveSetup.exe
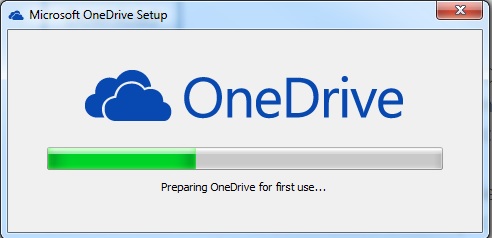
6) - Allow the Setup Process to complete. Once the process is complete and if you have your OneDrive already setup, then it will allow you into your OneDrive folder
7) - If you don't have a library setup already do the following
- Go to http://outlook.office.com/
- Click on the Menu bar at the top left of the screen and choose OneDrive - If you have never logged onto OneDrive you will be delayed whilst OneDrive will be configured for the first time
- Carefully highlight all of the text in the address bar. Right click on it and click Copy
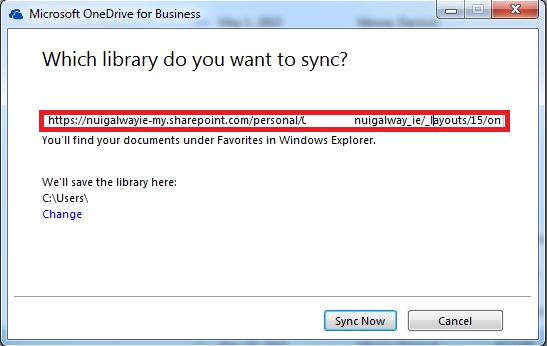
- Paste the text into the address field (highlighted in Red in image below)
- If you wish to configure where the library is syched to locally on the PC, you may change the default location by clicking on the Change link
- Click Synch Now
8) - Your files will begin to synch across
9) - You will see you files coming into your OneDrive Folder. The OneDrive for Business client will now be presented under your Favourites. You will see files/folders on the right hand side. From time to time Microsoft change how the OneDrive name will be presented. It may be called simply OneDrive or OneDrive -University of Glaway