-
Courses

Courses
Choosing a course is one of the most important decisions you'll ever make! View our courses and see what our students and lecturers have to say about the courses you are interested in at the links below.
-
University Life

University Life
Each year more than 4,000 choose University of Galway as their University of choice. Find out what life at University of Galway is all about here.
-
About University of Galway
About University of Galway
Since 1845, University of Galway has been sharing the highest quality teaching and research with Ireland and the world. Find out what makes our University so special – from our distinguished history to the latest news and campus developments.
-
Colleges & Schools
Colleges & Schools
University of Galway has earned international recognition as a research-led university with a commitment to top quality teaching across a range of key areas of expertise.
-
Research & Innovation

Research & Innovation
University of Galway’s vibrant research community take on some of the most pressing challenges of our times.
-
Business & Industry
Guiding Breakthrough Research at University of Galway
We explore and facilitate commercial opportunities for the research community at University of Galway, as well as facilitating industry partnership.
-
Alumni & Friends

Alumni & Friends
There are 128,000 University of Galway alumni worldwide. Stay connected to your alumni community! Join our social networks and update your details online.
-
Community Engagement
Community Engagement
At University of Galway, we believe that the best learning takes place when you apply what you learn in a real world context. That's why many of our courses include work placements or community projects.


Windows App (formerly Remote Apps)

Windows App allows you to securely access certain applications and resources that reside on the internal campus network from any location in the world.
Staff can be request access to Windows App with the Library & IT Service Desk.
The service is not currently available to Students.
The following services can be accessed using Windows App:
-
File Shares (Network Storage) - Access to the M: Drive, N: Drive, Q: Drive and U: Drive via File Explorer
- Google Chrome
- Microsoft Edge
- Firefox
- Employee Records (Core) - Back Office
- Reporting (CoreXD Reporting and Insight)
- Student Records (Quercus) - Back Office
The service can be accessed in two ways:
- By Windows App client installed on your PC (recommended for recurring use)
- By web browser (recommended for once-off use or if you are using a shared device)
Request access
Staff can request access the following services:
- File Shares (Network Storage) - Access to the M: Drive, N: Drive, Q: Drive and U: Drive via File Explorer
- Internet Explorer - Browse internal University of Galway webpages / resources
- Google Chrome - Browse internal University of Galway webpages / resources
- Microsoft Edge - Browse internal University of Galway webpages / resources
- Windows Virtual Desktop
- Employee Records (Core) - Back Office
- Finance System (Agresso) - Back Office (limited functionality)
- Reporting (CoreXD Reporting and Insight)
Create a ticket with the Library & IT Service Desk under the relevant category:
- Request Access: 04.Wi-Fi, Network & Remote Access > Remote Access > Remote Apps > New Request
Install Windows App client on a Windows workstation
Step 1: Download the Windows App from the Microsoft Store
- Click the Start menu on your Windows device.
- Open the Microsoft Store.
- In the search bar, type Windows App.
- Select Windows App from the results.
- Click Get or Install.
- Wait for the app to download and install.
Step 2: Open the Windows App
- Once installation is complete, select Open from the Microsoft Store, or
- Find Windows App in your Start menu and click to launch it.
Step 3: Sign In
- When prompted, sign in using your University M365 account and sign-in using multi-factor authentication
- After signing in, the app will automatically discover and display the Azure Virtual Desktop resources assigned to you.
Tip: Use and Sign Out
- Use the virtual desktop just like a regular Windows computer.
- When finished, sign out of the virtual desktop from the Start menu inside the session.
- Close the Windows App when you are done.
Install Remote Apps client on a macOS machine
Step 1: Download the Windows App from the Apple store

From the Apple Store, download and install Windows App for MAC: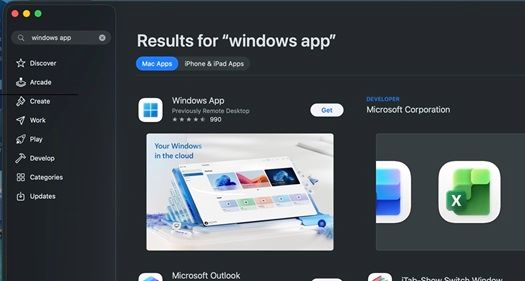
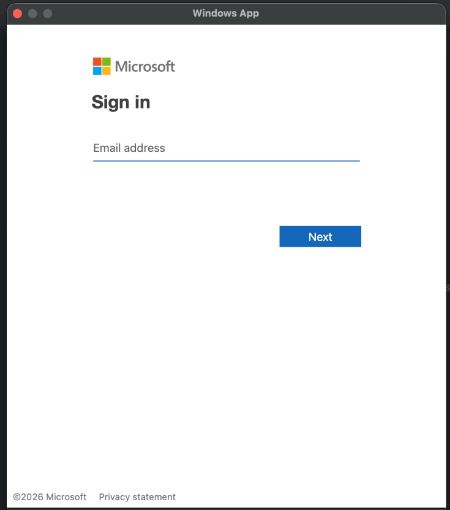
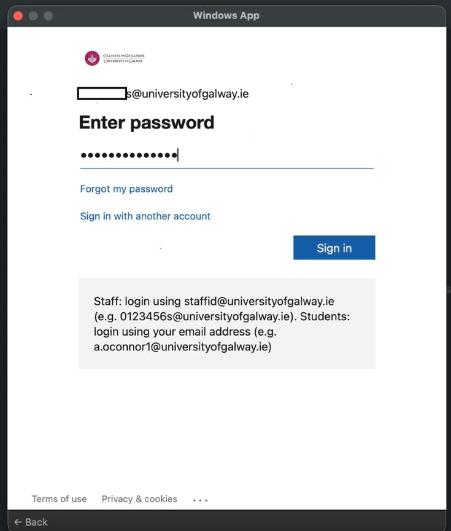
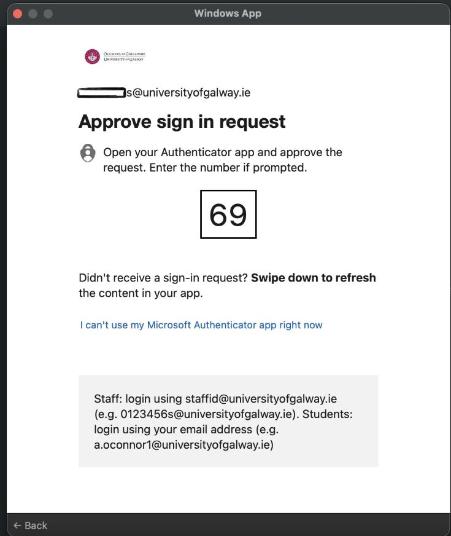
Step 2. Sign In
Once installed Launch the Windows App and it will prompt you to logon using MFA:
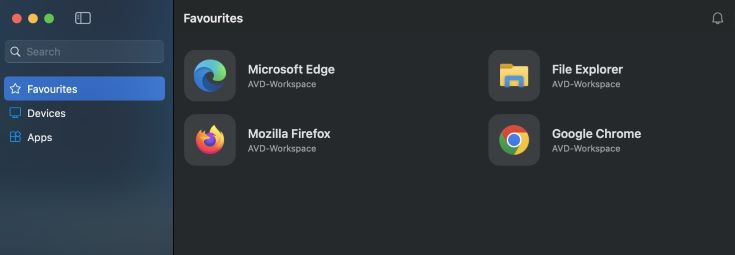
Step 3: Landing page
After signing in, the app will automatically discover and display the Azure Virtual Desktop resources assigned to you.
Step 4: Use and Sign Out
- Use the virtual desktop just like a regular Windows computer.
- When finished, sign out of the virtual desktop from the Start menu inside the session.
- Close the Windows App when you are done.
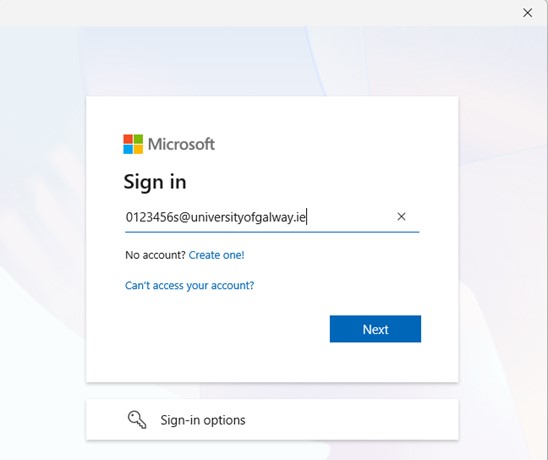
Access Windows App using a Web Browser
- Browse to https://windows.cloud.microsoft/
- You will be prompted to enter your University of Galway Campus Account credentials (username and password):
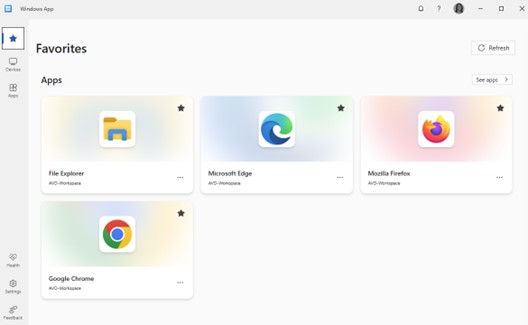
- Once you have completed MFA, the "Windows App" menu displays the Apps available to you.
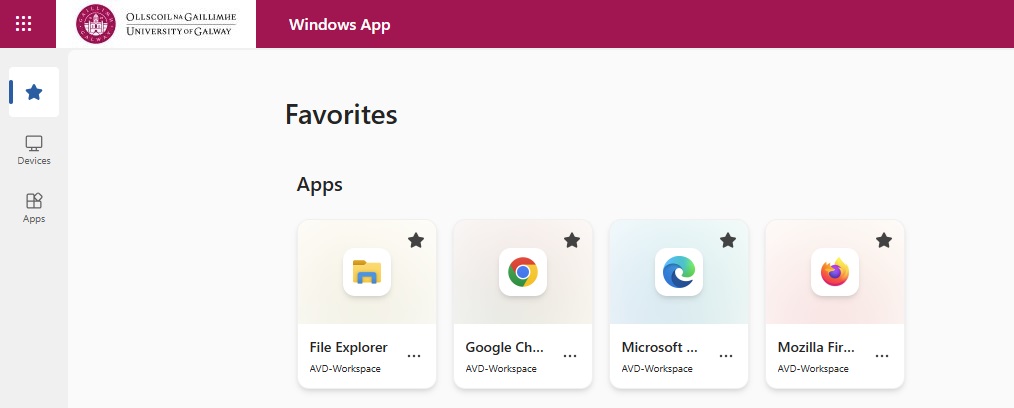
- Double-click on the application you wish to start. After a short time the application will start within your browser
Further support
Create a ticket with the Library & IT Service Desk under the relevant category:
- For Advice and Support: 16.Data Centre Services > Virtual Desktop/Remote Apps > Advice & Support
- Request an app to be made available: 16.Data Centre Services > Virtual Desktop/Remote Apps > Request an Additional App


