-
Courses
Courses
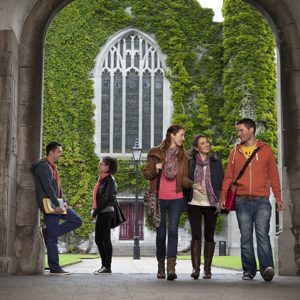
Choosing a course is one of the most important decisions you'll ever make! View our courses and see what our students and lecturers have to say about the courses you are interested in at the links below.
-
University Life
University Life
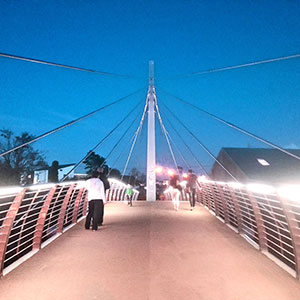
Each year more than 4,000 choose University of Galway as their University of choice. Find out what life at University of Galway is all about here.
-
About University of Galway
About University of Galway
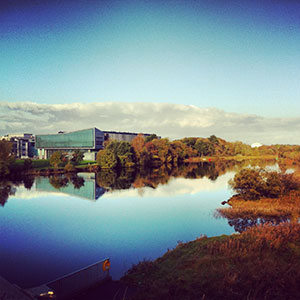
Since 1845, University of Galway has been sharing the highest quality teaching and research with Ireland and the world. Find out what makes our University so special – from our distinguished history to the latest news and campus developments.
-
Colleges & Schools

Colleges & Schools
University of Galway has earned international recognition as a research-led university with a commitment to top quality teaching across a range of key areas of expertise.
-
Research & Innovation

Research & Innovation
University of Galway’s vibrant research community take on some of the most pressing challenges of our times.
-
Business & Industry
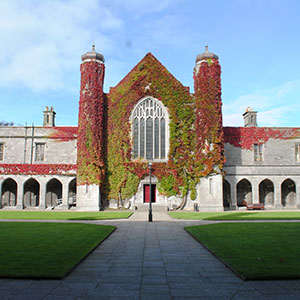
Guiding Breakthrough Research at University of Galway
We explore and facilitate commercial opportunities for the research community at University of Galway, as well as facilitating industry partnership.
-
Alumni & Friends

Alumni & Friends
There are 128,000 University of Galway alumni worldwide. Stay connected to your alumni community! Join our social networks and update your details online.
-
Community Engagement
Community Engagement
At University of Galway, we believe that the best learning takes place when you apply what you learn in a real world context. That's why many of our courses include work placements or community projects.
 Accessibility & Language
Image Gallery
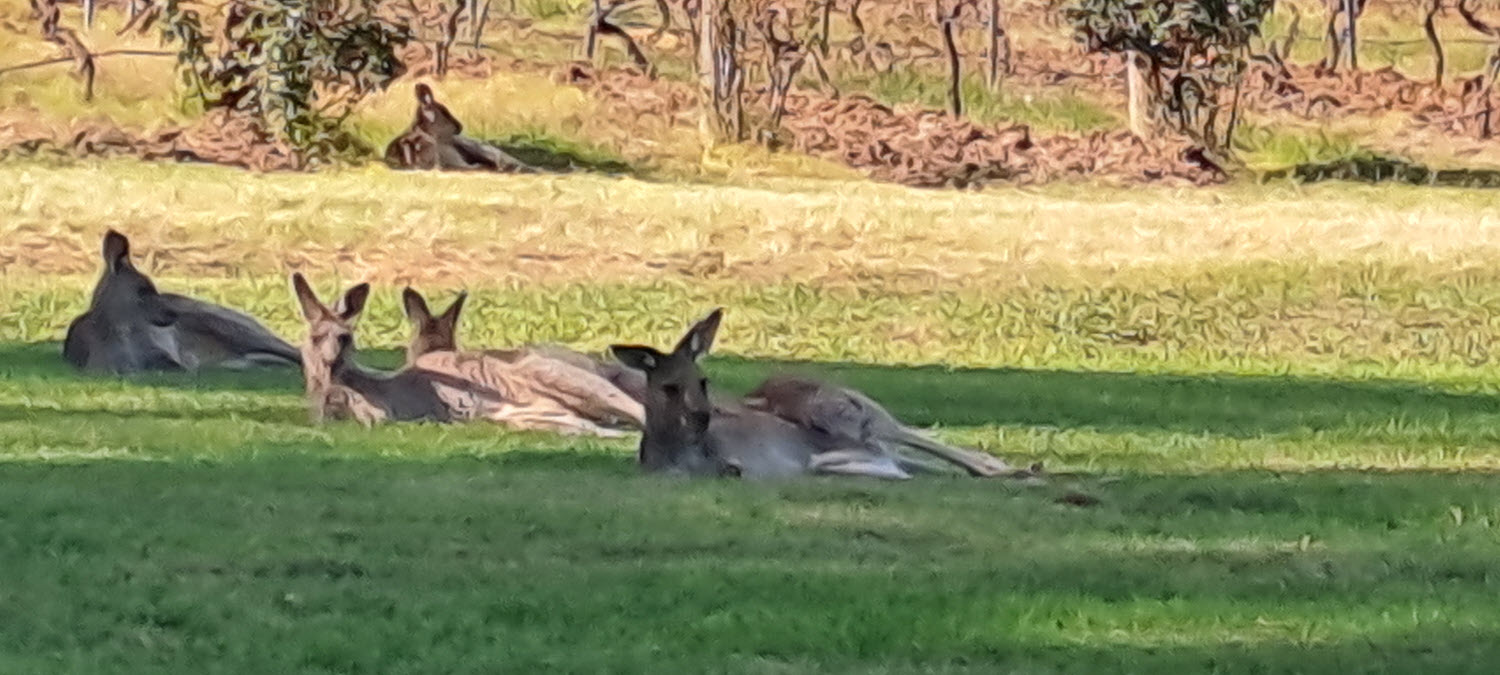


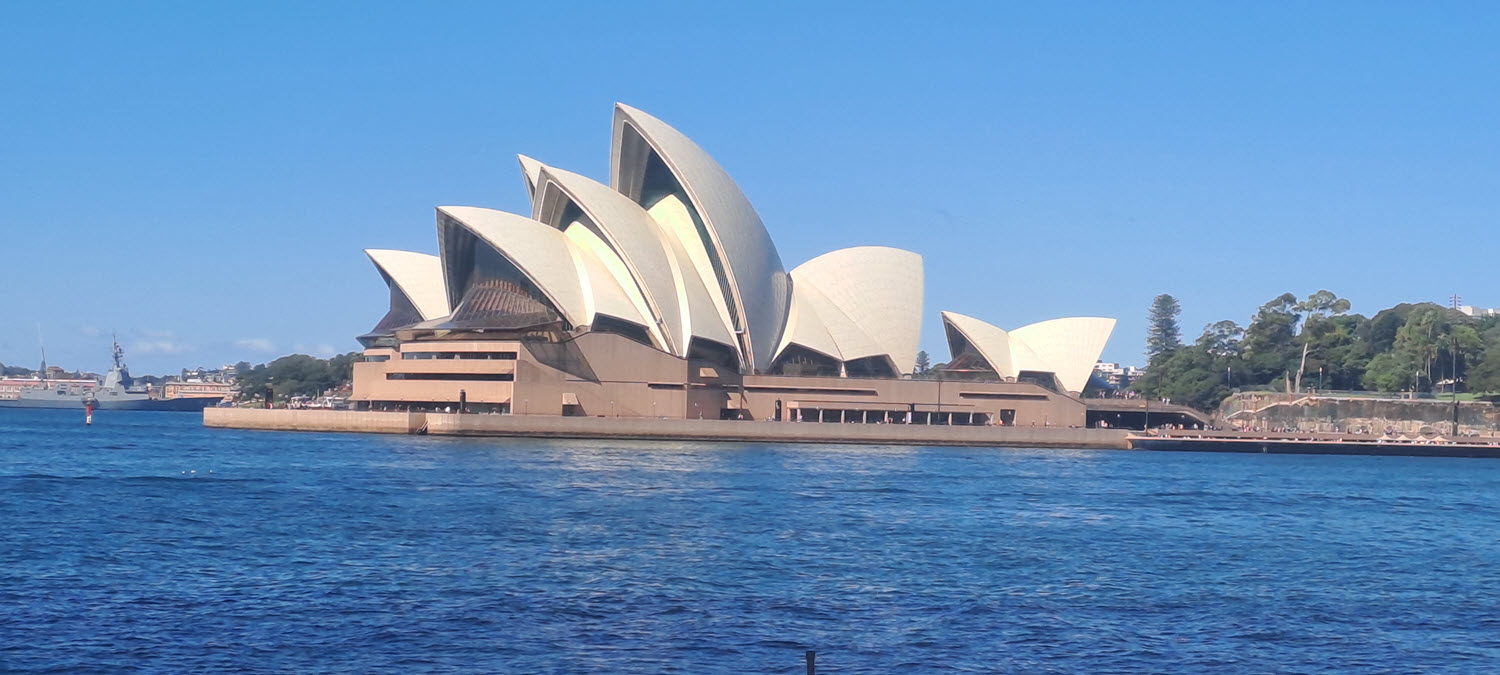
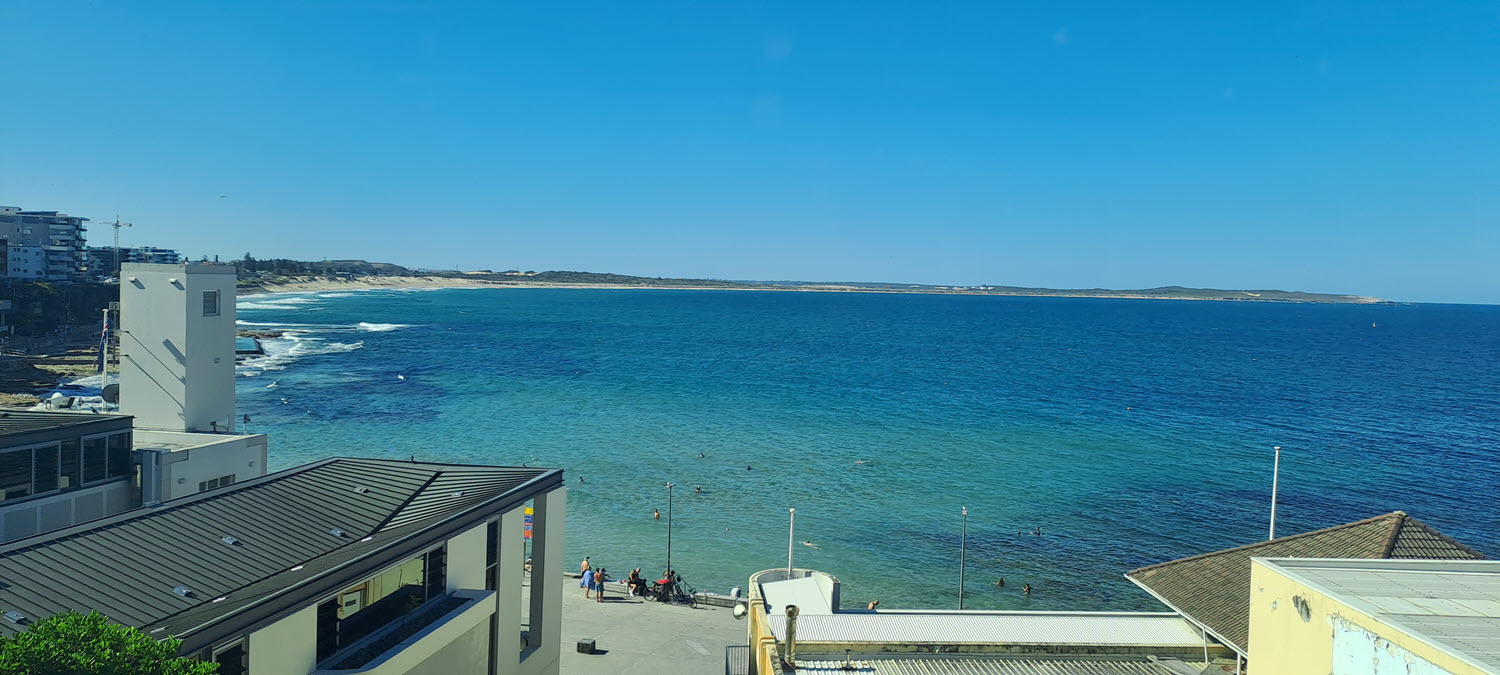
Image Gallery
An Image Gallery can contain as many images as you want. When you click on an image, a pop up will appear on the screen. If you hover your mouse over the image, arrows will appear so you can scroll through each image. The images do not need to be the same size, but the content type presents nicely if all image sizes are the same.
The images should not exceed 1600px wide or 830px in height. The examples in the Image Gallery above are all 1500 in width and 675 in height. For instructions on how to create web-ready versions of images (that are the correct dimensions), see How to resize your image and make it web ready.
The images used in this content type need to be uploaded to your Media Library, saved as 'Background Image / Image CSS' Type. See the section below - 'How to add an image gallery to your page' for full instructions.
You need to fully comply with copyright law. Ensure that you have the right to use any images you upload or insert onto your webpage. Further information is available on our Images FAQ page - Where can I find Images to use on my website.
Make sure the filename does not contain any spaces, and the file name has at least 3 characters (before the dot) or it might not upload. Also, remove any characters that are reserved for web addresses ( ! * ' ( ) ; : @ & = + $ , / ? %.
Please Note: This content type doesn't preview perfectly in site manager. You'll see the gallery but if you click on an image icon, the pop-up will contain garbage. This is a limitation of t4's preview feature - it'll work fine when published. E.g. http://www.nuigalway.ie/t4training/examples/imagegallery/
How to add an image gallery to your page
- Go to the section you want to add the image gallery to
- Click on +Add content

- Add the 'Image Gallery: carousel holder' content type to your section
- Give the content a Name
- Click Save changes to put your content on Pending

Or else,
Click on the small white arrow and click Save and approve to approve your content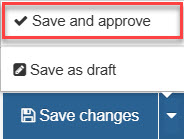
Next you will create a sub-section to hold your images
- Go to the site structure and click on the Actions button of the section where the Image Gallery will be

- Choose Create section from the dropdown menu
- Give the section the Name 'Images'
- Click Save changes to put your content on Pending
Or else,
Click on the small white arrow and click Save and approve to approve your content and return to the site structure
Next you will add your images to the sub-section you just created - 'Images'
- Click on the Actions button of the new sub-section you just created, called 'Images'
- Click on +Add content, add the ''Image gallery: Carousel Images'' content type for each image you wish to add to your gallery
- Give the image a Name
- Give the image a Title
- Click on the Select media button to choose an image from your Media Library
- Find the image in the Media Library, ensure the image Type is 'Background Image / Image CSS'
- Click on the Actions button, choose Select media
- Click Save changes to put your content on Pending
Or else,
Click on the small white arrow and click Save and approve to approve your content and return to the site structure. - Repeat steps 2 - 8 for each image you want to add.
- Once you have added as many images as you want, click on Save changes to return to the site structure.